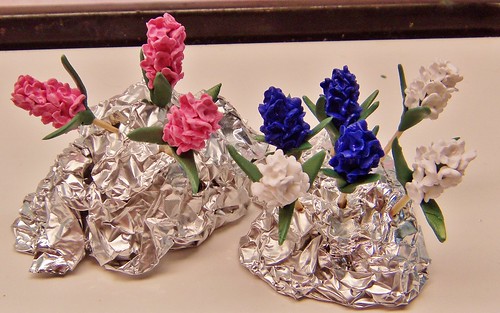
I completed my Flower Garden sculpture and listed at CreativeCritters. In my last work in progress post I had finished sculpting and placing the roses, Hydrangeas, daffodils, tulips, and Irises. The pink, white, and blue Hyacinths had been sculpted, but hadn't been "planted" in the garden yet. I chose to group the like colors together in a semi-circle in front of the tulips.

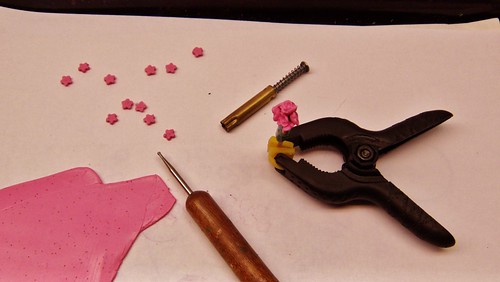
After the Hyacinths had been "planted" I decided to add some ground cover for a bit of added color and texture. I don't remember what the plant is called, but Gramma has an evergreen groundcover with little blue flowers that grows vigorously in the flower beds. It's just loaded with tiny blooms in the spring and summer months!

I sculpted vines, leaves, and flowers underneath the tulips, daffodils, and Irises, and had a little bit creeping under the fence. It does like to try to escape the beds whenever it can. ;-)

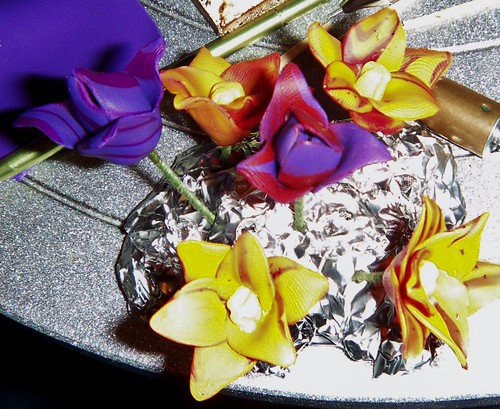
I also sculpted five tiny little polymer clay butterflies in shades of blue and red. I used Lisa Pavelka's foils to add a beautiful shimmer to the clay before cutting out their wings. After baking I sealed the butterflies with high gloss glaze.

The butterflies are perched on the roses and on the white picket fence. This little flower garden invites you to take a closer look, and discover all the tiny details it hides. This is the kind of scupture you're meant to get lost in. Thank you for joining me on this creative journey! To view this listing in my shop, simply click on any of the pictures.
-Michelle of CreativeCritters
After the Hyacinths had been "planted" I decided to add some ground cover for a bit of added color and texture. I don't remember what the plant is called, but Gramma has an evergreen groundcover with little blue flowers that grows vigorously in the flower beds. It's just loaded with tiny blooms in the spring and summer months!
I sculpted vines, leaves, and flowers underneath the tulips, daffodils, and Irises, and had a little bit creeping under the fence. It does like to try to escape the beds whenever it can. ;-)
I also sculpted five tiny little polymer clay butterflies in shades of blue and red. I used Lisa Pavelka's foils to add a beautiful shimmer to the clay before cutting out their wings. After baking I sealed the butterflies with high gloss glaze.
The butterflies are perched on the roses and on the white picket fence. This little flower garden invites you to take a closer look, and discover all the tiny details it hides. This is the kind of scupture you're meant to get lost in. Thank you for joining me on this creative journey! To view this listing in my shop, simply click on any of the pictures.
-Michelle of CreativeCritters